Getting Started with OpenNI2 and ZED
OpenNI provides a uniform interface that third party middleware developers can use to interact with depth sensors. The ZED OpenNI driver makes each ZED camera appear as a PrimeSense-compatible depth sensor, so it can be used with the OpenNI 2 API.
Key Features
- Color stream for left or right camera
- Depth stream relative to left or right camera
- Gray stream for left or right camera
- Configuration of the camera parameters with YAML files
Installation
The latest version of OpenNI2 is required. It can be downloaded as a precompiled library from the Occipital website. The ZED OpenNI2 driver supports Windows and Linux distributions.
Linux
Prerequisites
- CMake [v3.10+]
- OpenCV [v3.4+] optionally required to build all the examples.
- OpenNI2 [v2.2.0]
Install OpenNI2
Download the library for the correct architecture of your host system: x86, x64, ARM
For ARM64 devices the library must be compiled from sources.
Extract the library:
A new folder OpenNI-Linux-<arch>-2.2 will be created containing the precompiled library, take note of its full path because you will need it for the next steps.
Build the driver
[Optional] Install OpenCV:
Clone the ZED OpenNI2 repository:
Build the driver (use the path to the OpenNI2 library noted above):
The library file of the driver will be automatically copied in the folder <openni2-path>/Redist/OpenNI2/Drivers and it will be automatically loaded by OpenNI2 during initialization.
Please be sure to have write permission for the folder <openni2-path>/Redist/OpenNI2/Drivers.
Windows
Prerequisites
- CMake [v3.10+] is required to configure the ZED OpenNI driver before building. You can install the latest version downloading it from the CMake website.
- OpenNI2 [v2.2.0]
Install OpenNI2
Download the library for the correct architecture of your host system: x86, x64
For ARM devices the library must be compiled from sources.
Extract the library using the tool you prefer. A new folder OpenNI-Windows-<arch>-2.2.0.33 will be created containing the installer.
Enter into the new folder and double click on the file OpenNI-Windows-<arch>-2.2.msi to install OpenNI2.
Take note of the installation path because you will need it for the next steps.
Install the Primesense driver when asked to create the correct path for the OpenNI drivers.
Build the driver
Clone the ZED OpenNI2 repository using Git for Windows.
Run CMake (cmake-gui), select the folder where you cloned the repository as source and setup a build folder.
Configure the following parameters
OpenNI2-DIR-> use the path to the OpenNI2 library noted above (e.g.C:\Program Files\OpenNI2)
Click on Configure, select the build environment and then click on Generate.
If everything is correctly configured you can now click Open Project and then build the driver using Visual Studio.
The build process generates a file named libzeddriver.dll in the sub-folder Release of the folder chosen as build destination. This file must be manually copied in the folder of OpenNI2 containing all the available drivers to be able to run the OpenNI2 examples using the ZED camera.
Camera configuration
The ZED camera can be initialized using two configuration files:
ZedInitConfig.yaml: contains the Initialization parameters in YAML formatZedRuntimeConfig.yaml: contains the Runtime parameters in YAML format
Both the files, if not existing, will be automatically created with the default parameters by the driver in the same folder of the executable.
Initialization parameters
Runtime parameters
Examples
Windows examples
The examples provided with this repository cannot be built for Windows because of the high number of dependencies to be
satisfied that require a highly laborious and sophisticated process.
You can however run the examples provided with OpenNI2. OpenNI2 must be able to recognize the ZED camera as a Primesense
compatible device, this is possible by manually copying the file libzeddriver.dll in the folder
<path-to-your-openni2-installation-folder\Samples\Bin\OpenNI2\Drivers> and <path-to-your-openni2-installation-folder\Tools\OpenNI2\Drivers>
(e.g. C:\Program Files\OpenNI2\Samples\Bin\OpenNI2\Drivers, C:\Program Files\OpenNI2\Tools\OpenNI2\Drivers).
You can find the precompiled examples in the folder <path-to-your-openni2-installation-folder\Samples\Bin:
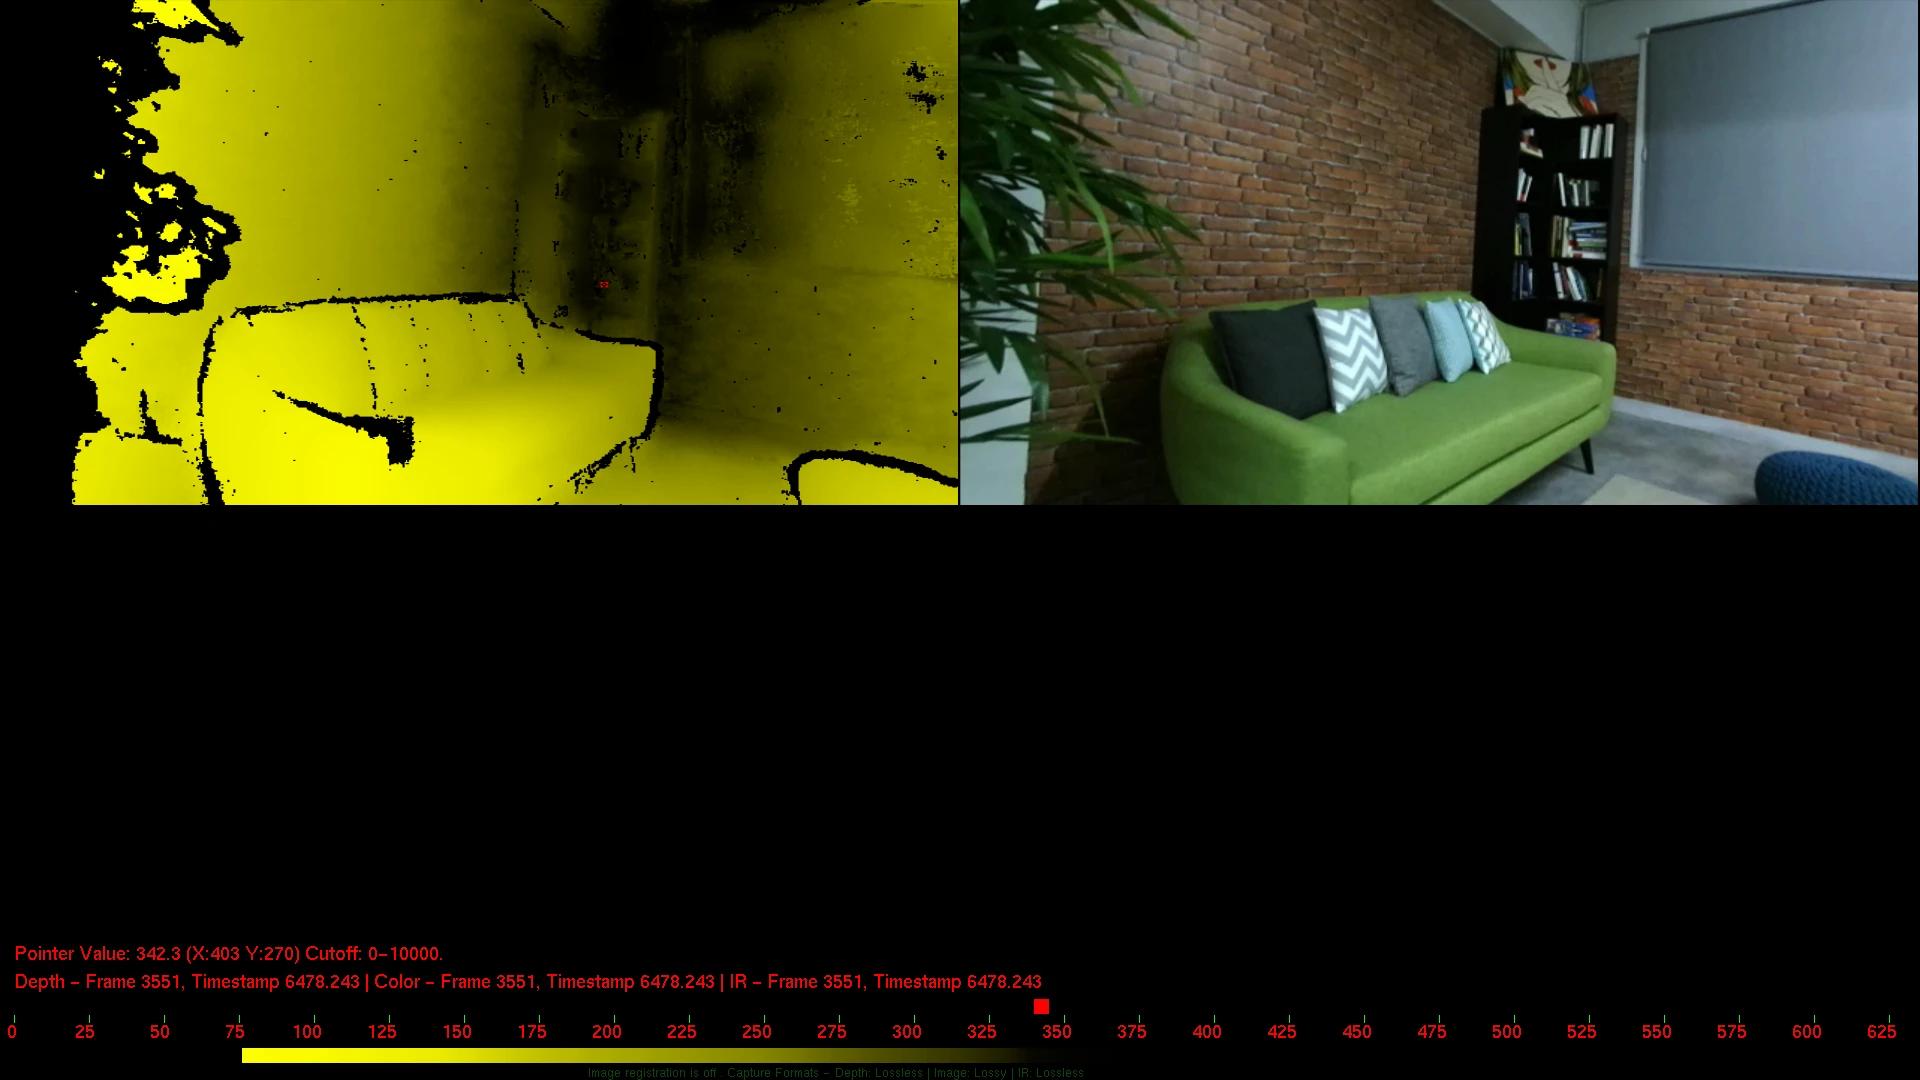
ClosestPointViewer.exe: creates an OpenGL window displaying the depth stream and showing the closest point to the cameraEventBasedRead.exe: opens a console and displays the results of the read eventsMultiDepthViewer.exe: creates an OpenGL window displaying the depth stream coming from multiple camerasMultipleStreamRead.exe: opens a console and displays the results of the read events from multiple camerasMWClosestPointApp.exe: opens a console and displays the distance of the closest point to the cameraSimpleRead.exe: opens a console and displays the distance of the central point of the depth imageSimpleViewer.exe: creates an OpenGL window displaying the color/depth combined stream (key 1), the depth stream (key 2) and the color stream (key 3)NiViewer.exe: advance test GUI [available in the folderTools]
Linux examples
The driver comes with five examples demonstrating how to use it to retrieve and show color images, depth maps and point clouds.
- SimpleMultiViewer: creates an OpenGL window displaying the color/depth combined stream (key 1), the depth stream (key 2) and the color stream (key 3)
- SimpleColor: [requires OpenCV] creates an OpenCV window displaying the color stream
- SimpleDepth: [requires OpenCV] creates an OpenCV window displaying the depth stream
- SimpleRegistered: [requires OpenCV] creates two OpenCV windows displaying the synchronized color and depth streams
- SimplePointCloud: [requires OpenCV] creates an OpenCV 3D window displaying the color stream mapped on a 3D point cloud
It is possible to execute the precompiled OpenNI2 examples (see Windows) by manually copying the driver file libzeddriver.so in the
folder <path-to-your-openni2-installation-folder\Samples\Bin\OpenNI2\Drivers> and <path-to-your-openni2-installation-folder\Tools\OpenNI2\Drivers>
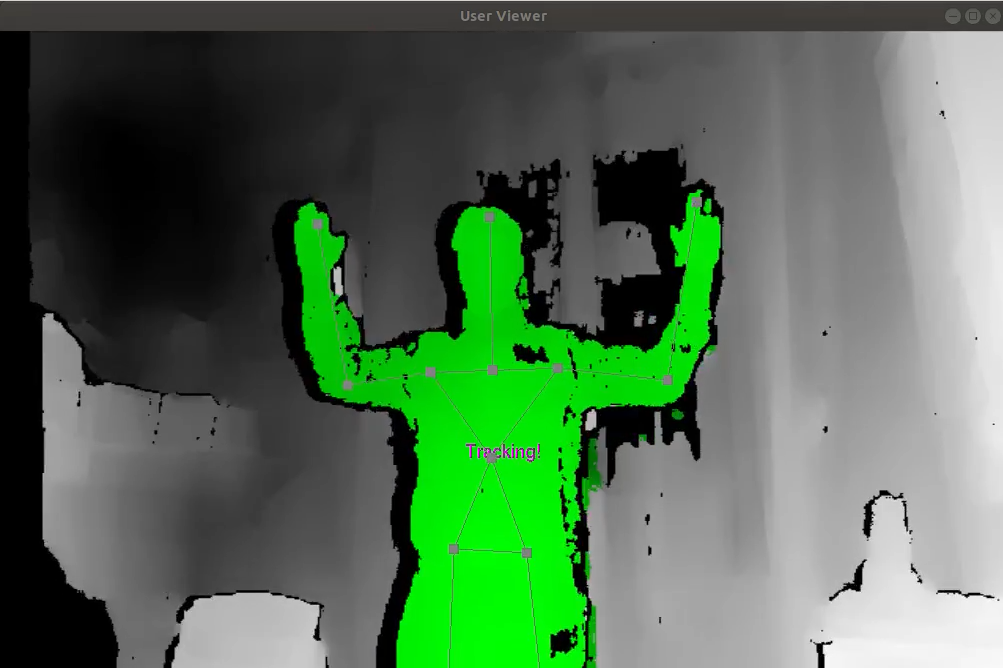
NiTE 2 integration
The ZED OpenNI2 driver is compatible with the NiTE v2.2 framework.
To execute the precompiled example available with NiTE simply copy the ZED driver file (libzeddriver.so [Linux] or
libzeddriver.dll [Windows]) in the folder Samples/Bin/OpenNI2/Drivers under the root of the NiTE installation folder.
NiTE will automatically load the new driver, searching for a connected ZED camera when starting.