How to Use OpenCV with ZED in Python
Introduction
In this tutorial, you will learn how to capture and display color and depth images using OpenCV and the ZED SDK in Python.
Code Example
The sample code is available on GitHub. Make sure the ZED Python API is installed before launching the sample.
Sharing image data between ZED SDK and OpenCV Python
In Python, OpenCV stores images in NumPy arrays. Since the ZED SDK uses its own sl.Mat class to store image data, we provide a function get_data() to convert the sl.Mat matrix into a NumPy array.
Capturing Video
To capture video, use grab() and retrieve_image(). Then use get_data() to retrieve the sl.Mat data into a NumPy array. Display the video using cv2.imshow().
Capturing Depth
A depth map is a 1-channel matrix with 32-bit float values for each pixel. Each value expresses the distance of a pixel in the scene. The depth map can be retrieved using retrieve_measure() and loaded with get_data() into a NumPy array. Please refer to the Depth API for more information.
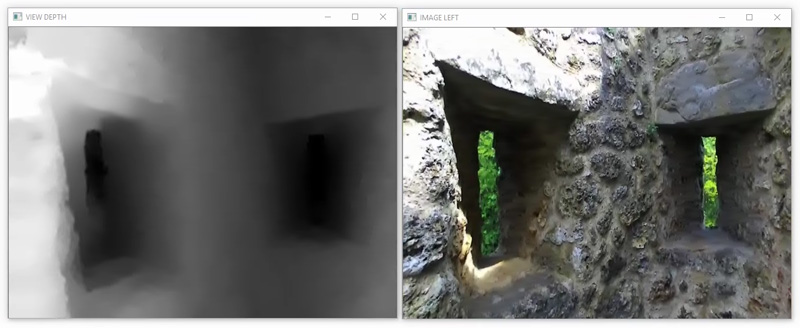
Displaying Depth
A NumPy array with 32-bit float values can’t be displayed with cv2.imshow. To display the depth map, we need to normalize the depth values between 0 and 255 (8-bit) and create a black-and-white representation. Do not use this representation for other purposes than displaying the image.
UVC Capture
You can also use the ZED as a standard UVC camera in OpenCV to capture raw stereo video using the code snippet below. To get rectified images and calibration with OpenCV, use the native (Python) capture sample available on GitHub.