Install your ZED Box Mini
01. [Optional] Connect your ZED camera
The ZED Box Mini is an embedded Linux device that operates as a standard Linux-based PC. While it is designed for seamless compatibility with ZED cameras, using one is not required for its functionality.
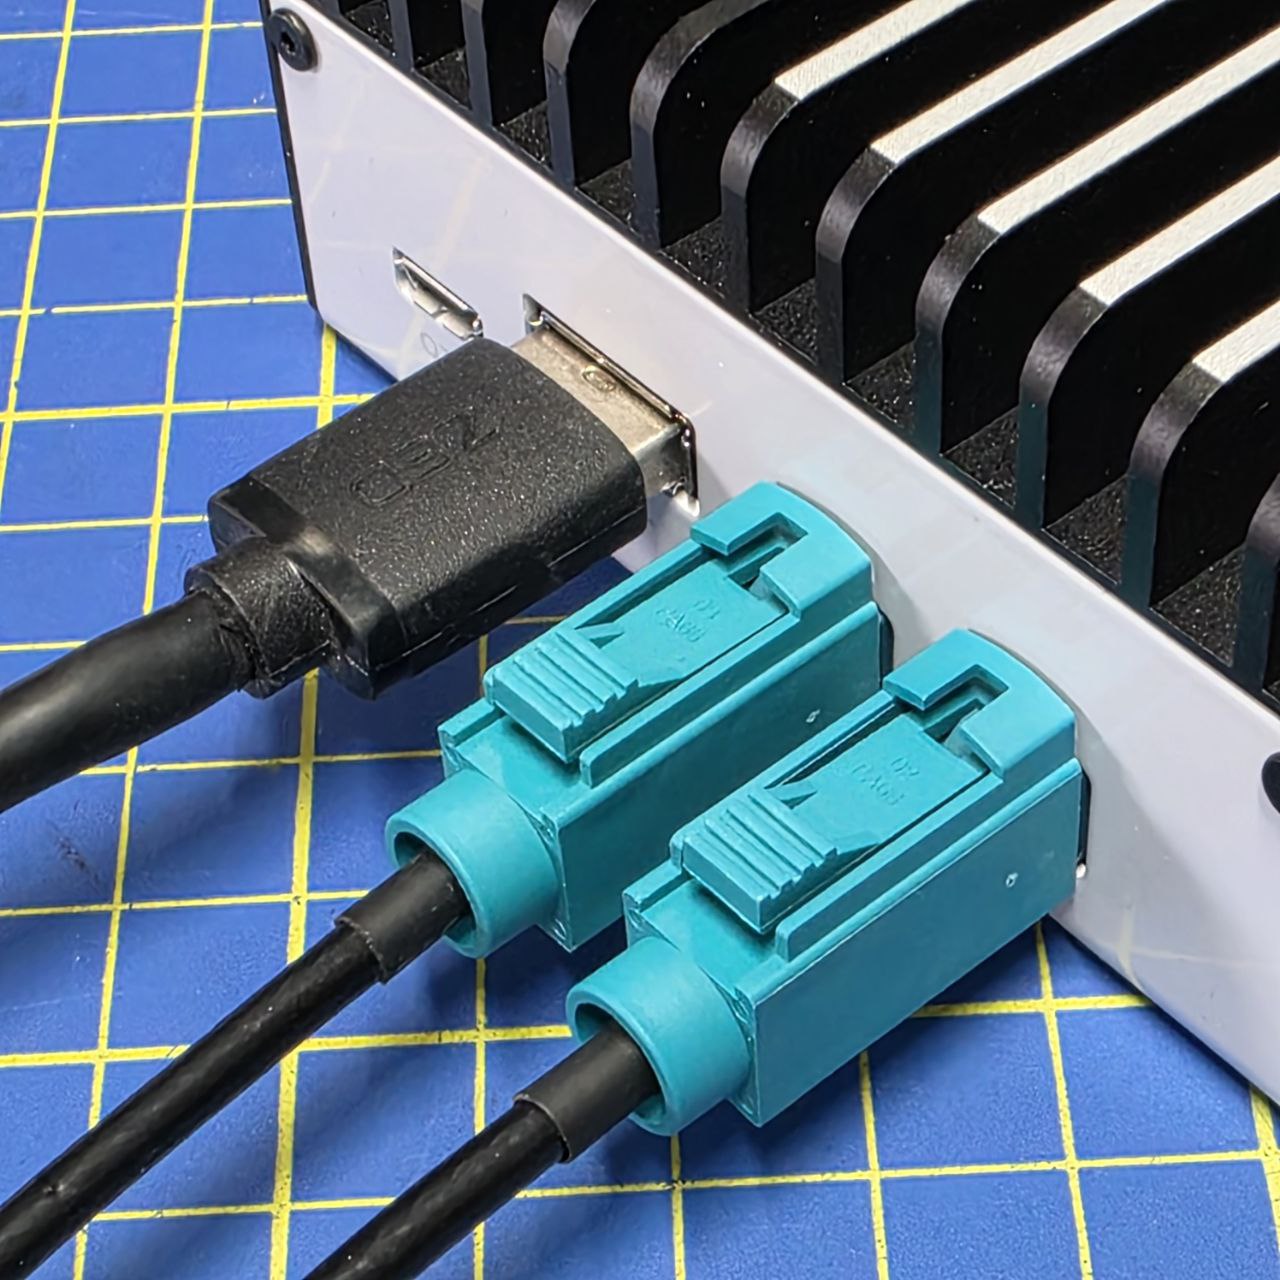
Connect a ZED GMSL2 camera
Firmly push the Fakra connector in until you hear a “click,” ensuring a secure and reliable connection.
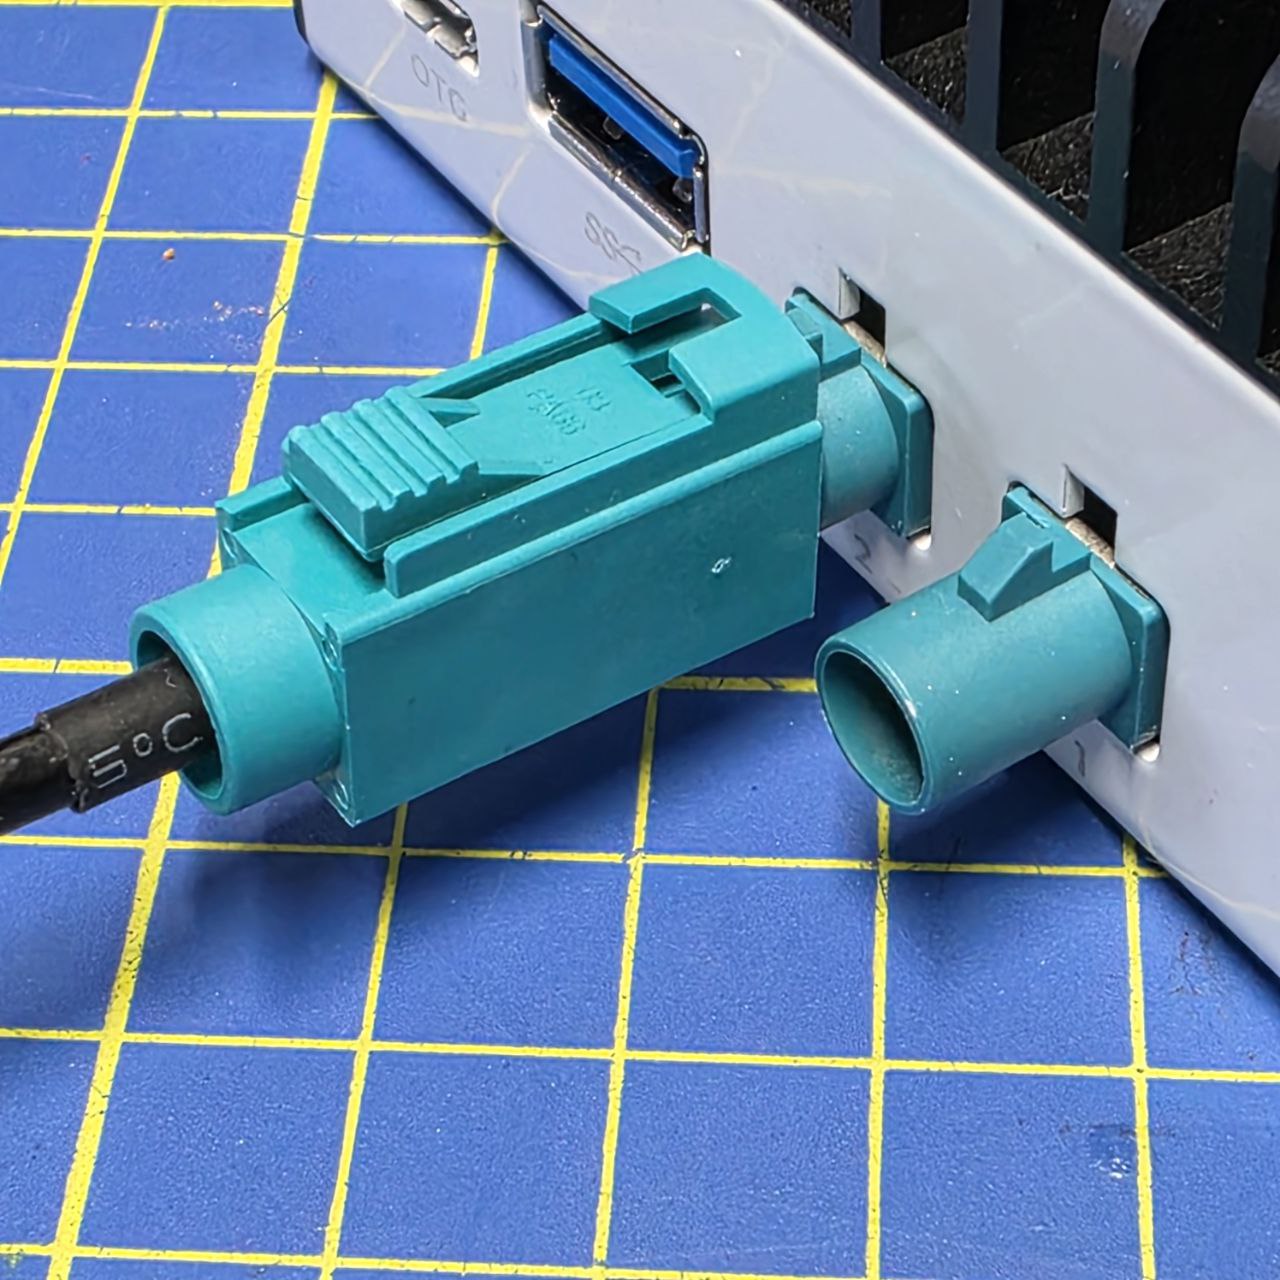
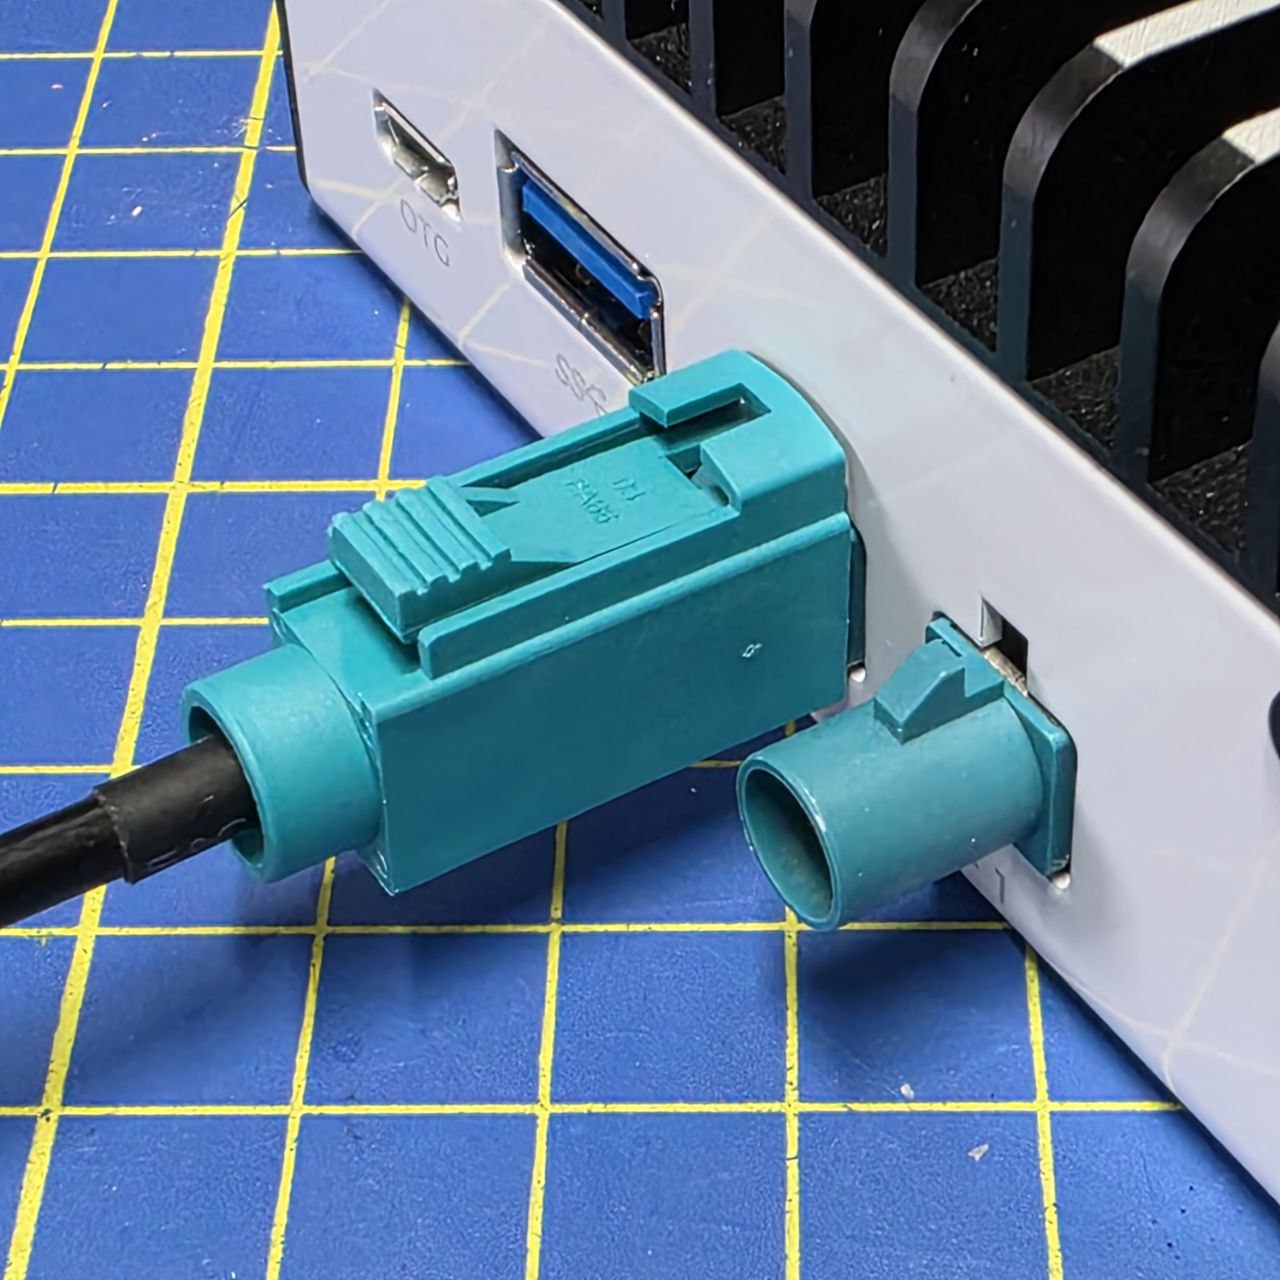
GMSL2 cameras are not plug-and-play. Connect them before powering on the ZED Box Mini to ensure the operating system detects and initializes them properly.
The ZED Box Mini does not support two ZED X One 4K cameras simultaneously. Read more concerning the allowed multi-camera combinations here.
Connect a ZED USB 3 camera
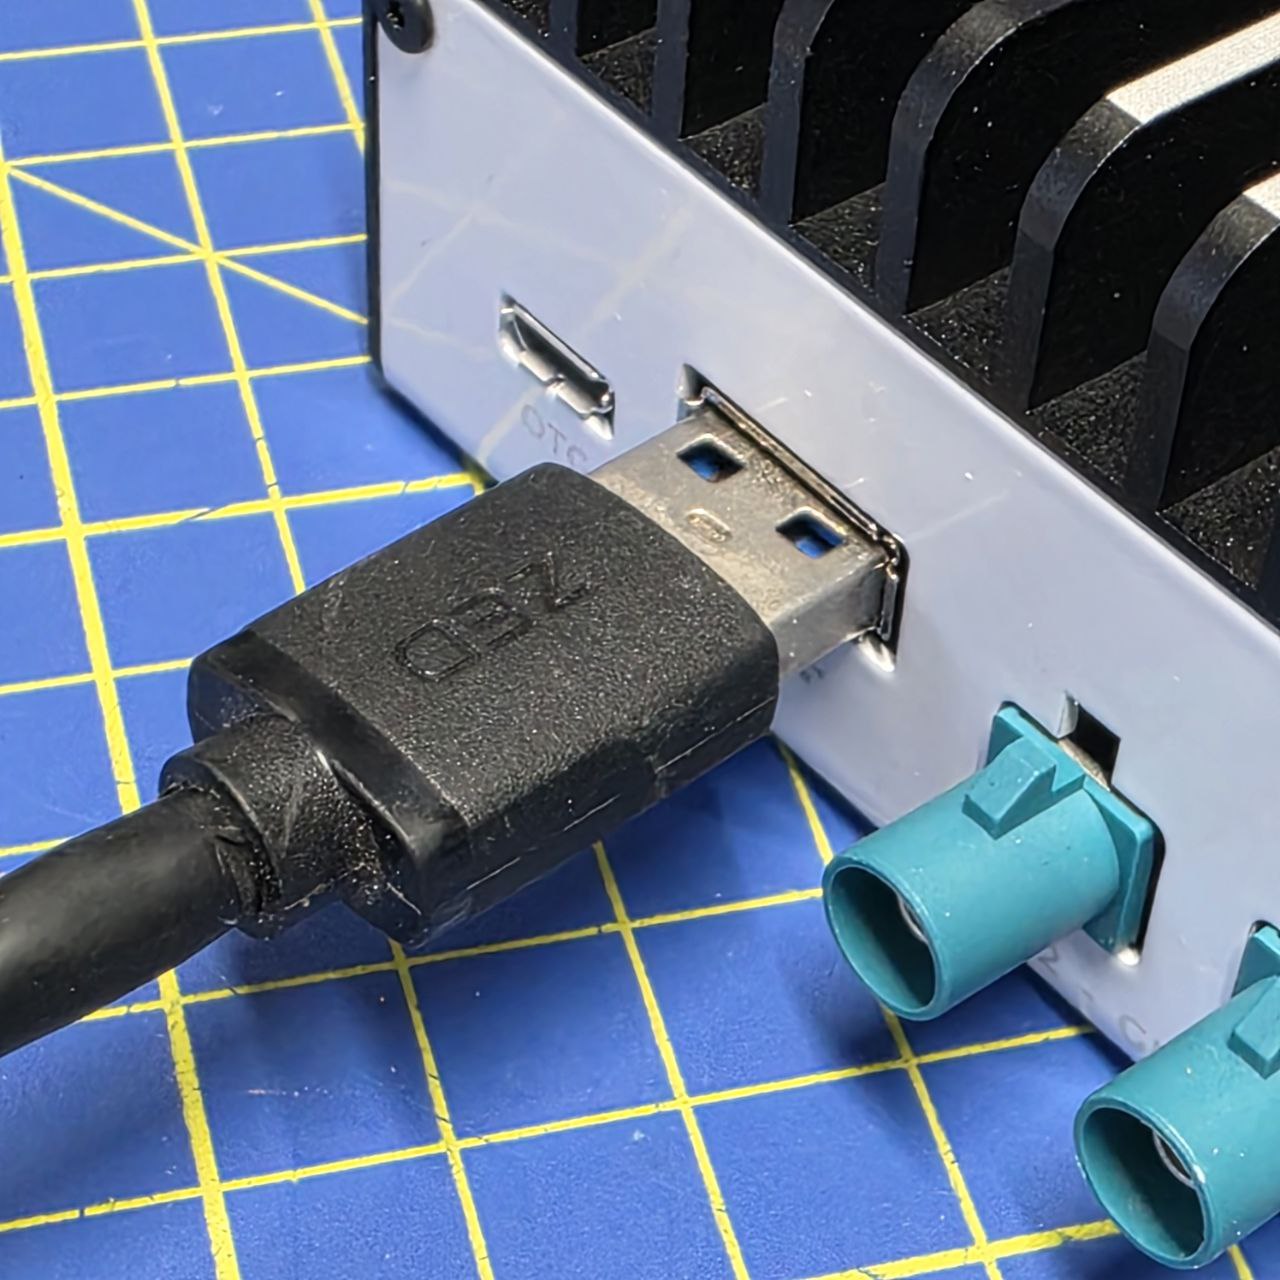
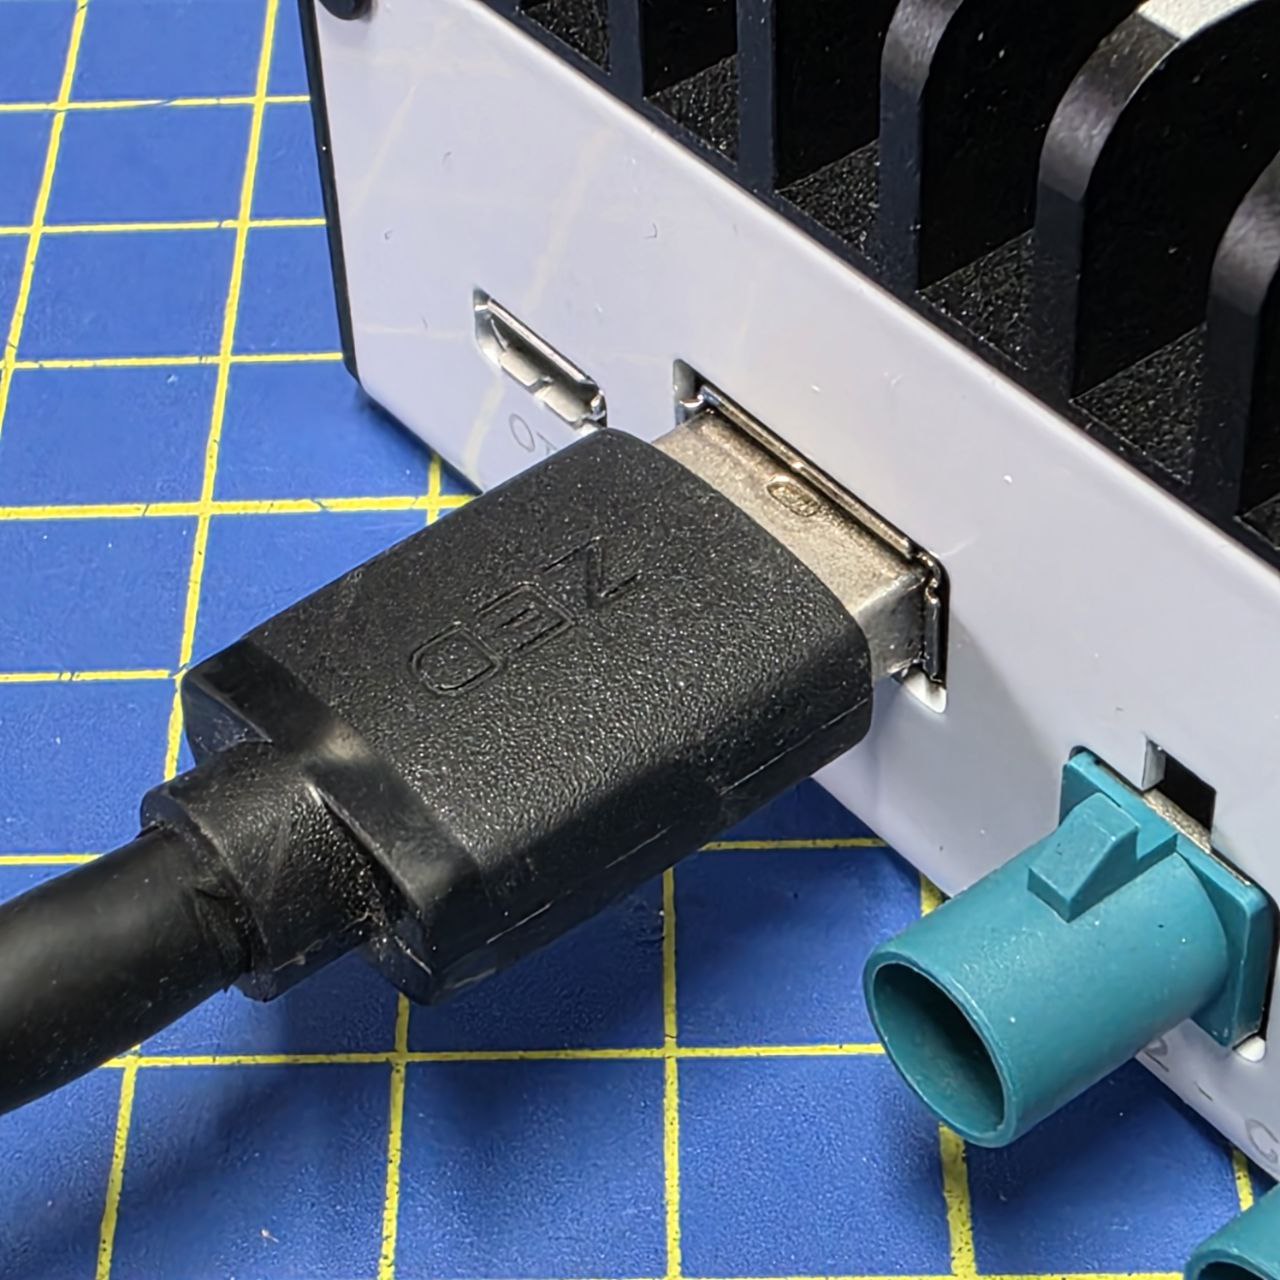
USB 3 cameras are plug-and-play. You can connect them at any time, even after the ZED Box Mini has booted.
Hybrid camera setup
You can connect up to three different ZED cameras to the ZED Box Mini:
- 1x USB 3 ZED Stereo Camera
- 2x GMSL2 Cameras *
The ZED Box Mini does not support two ZED X One 4K cameras simultaneously. Read more concerning the allowed multi-camera combinations here.
02. Power the ZED Box Mini
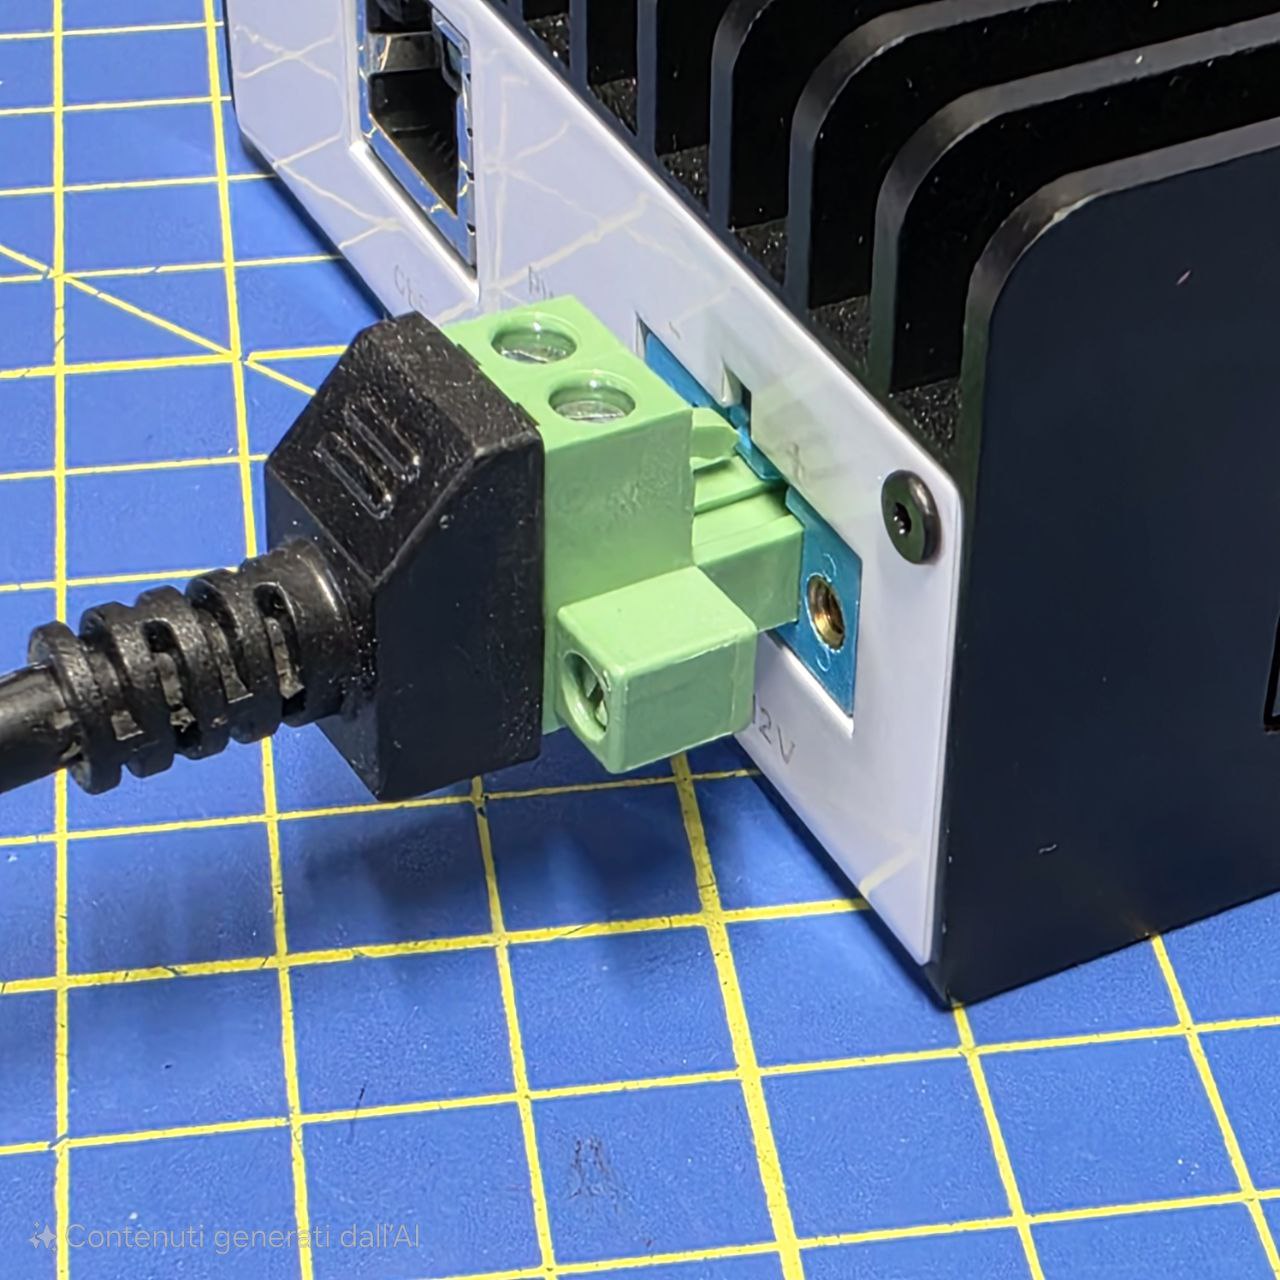
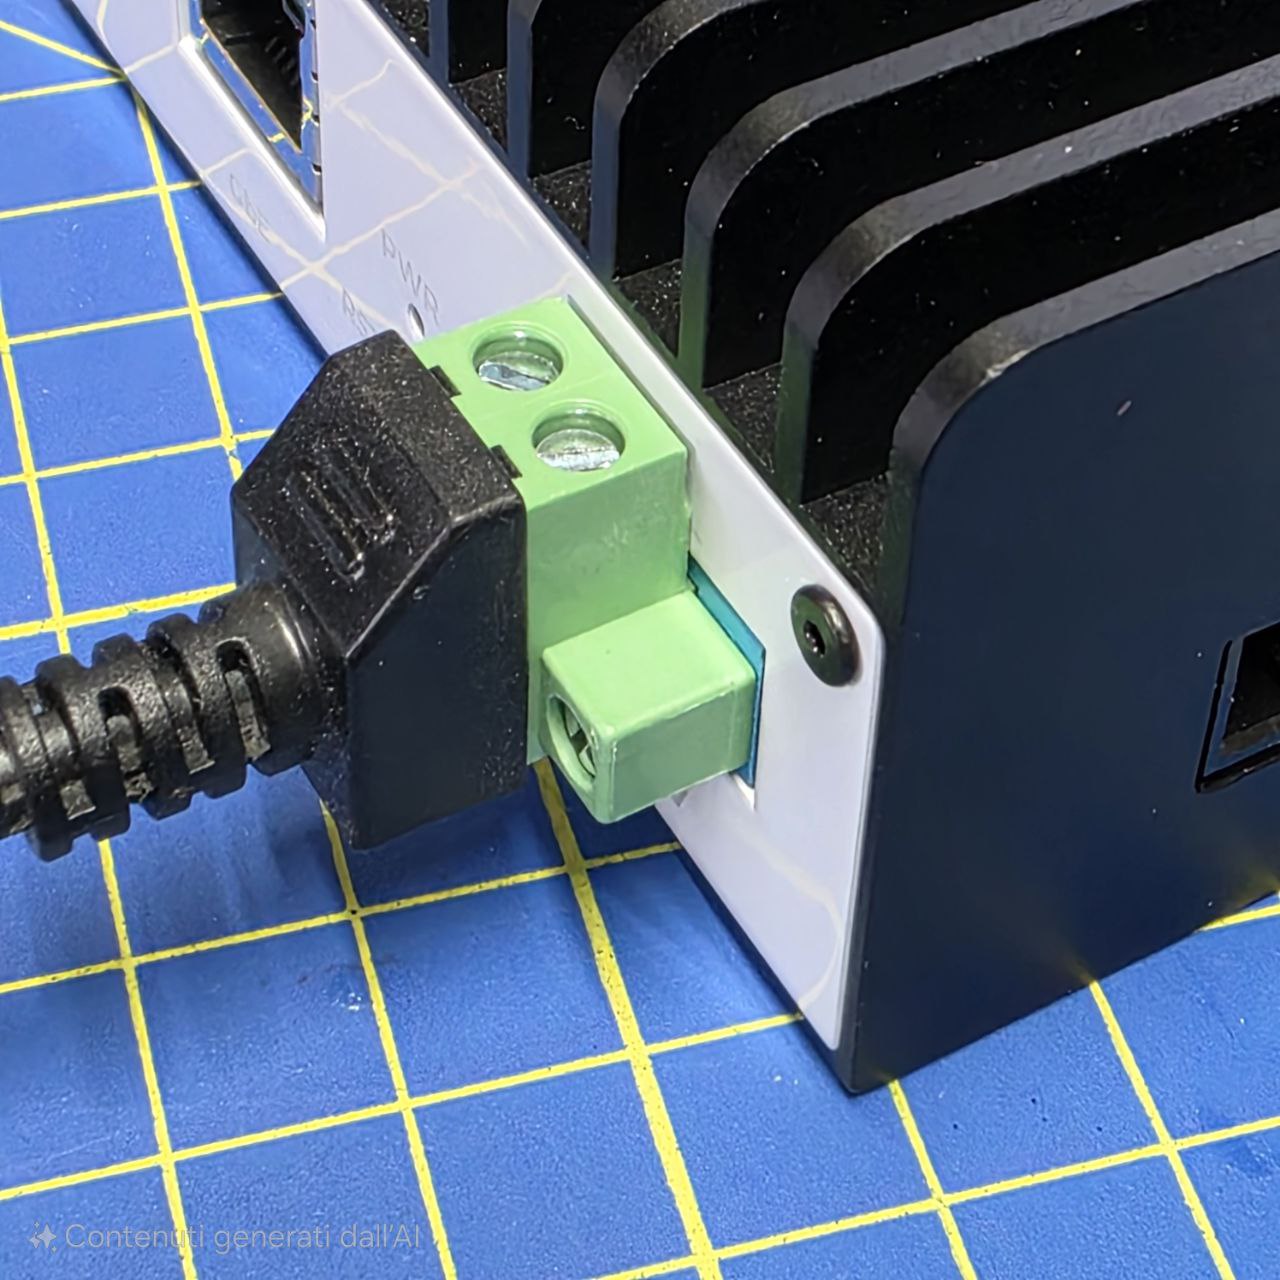
Connect the provided power supply to the power connector. The device will automatically turn on.
03. Connect to the network
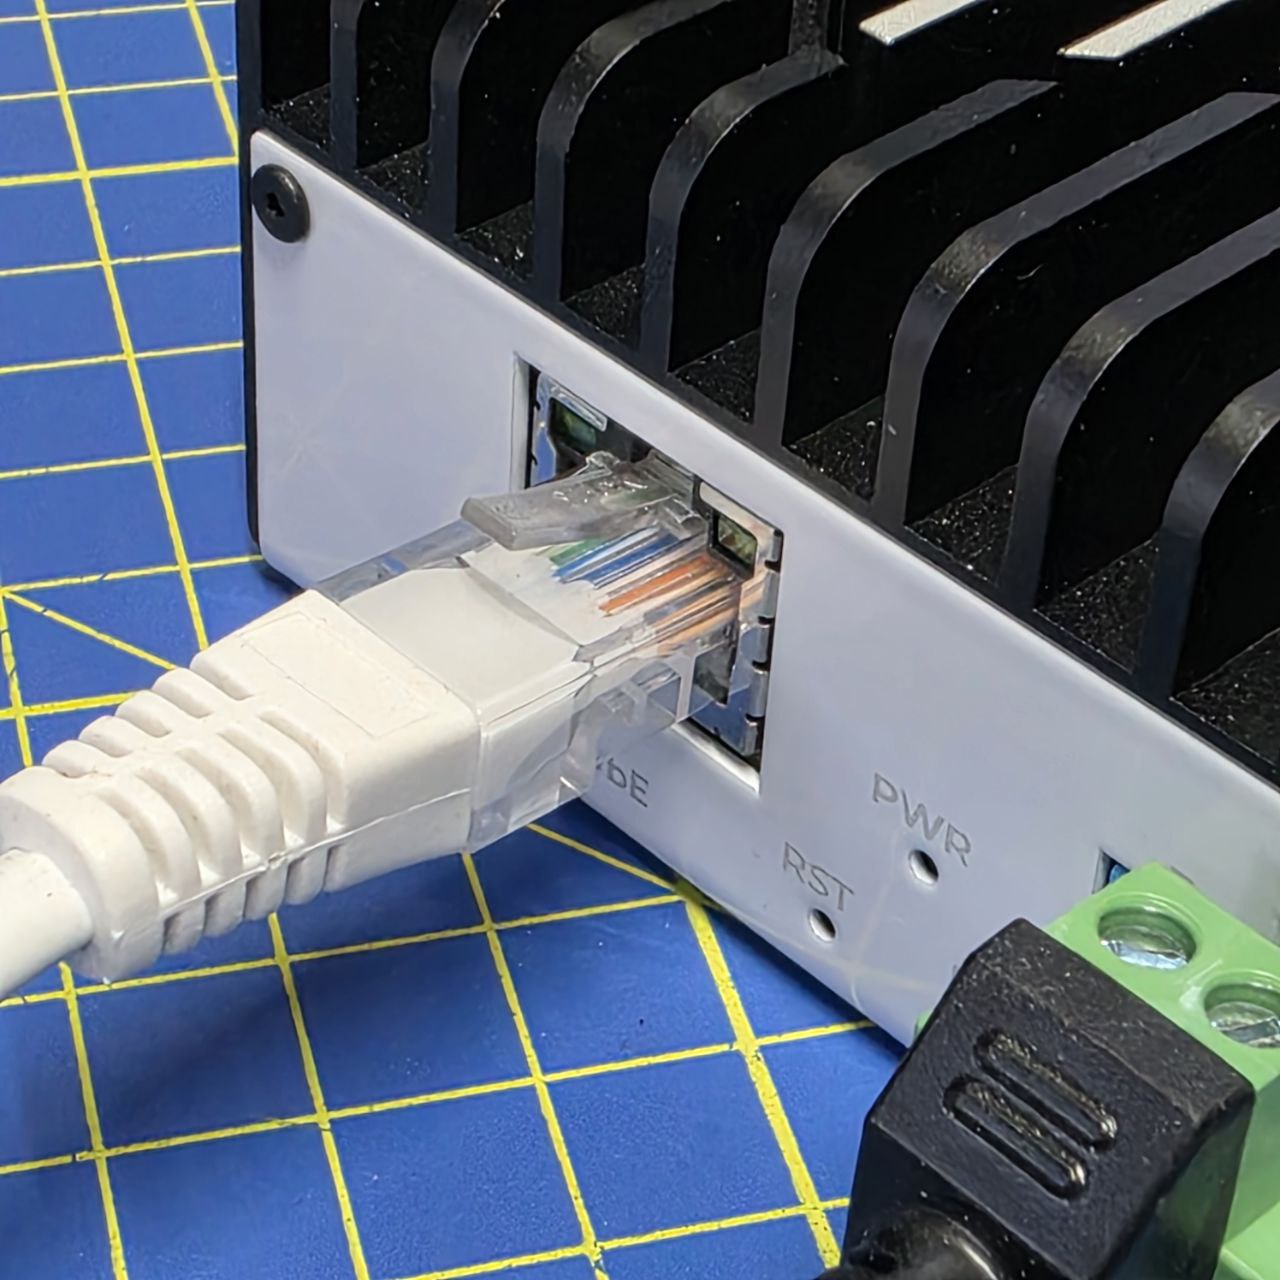

Connect to your network using the Ethernet port.
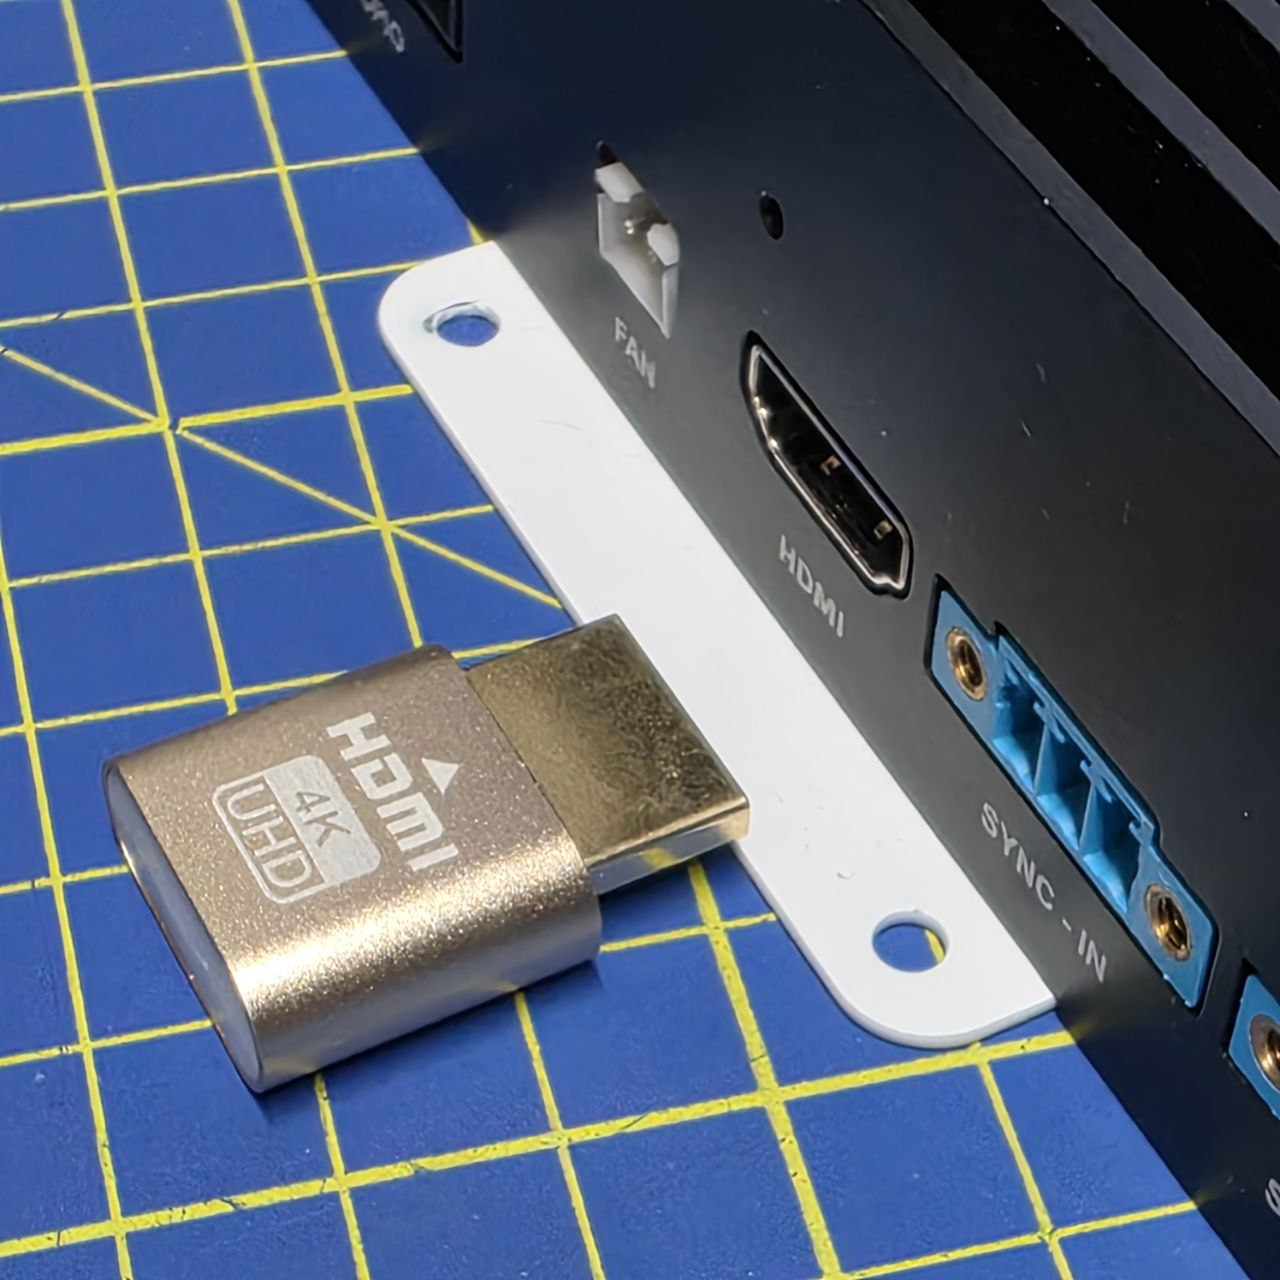
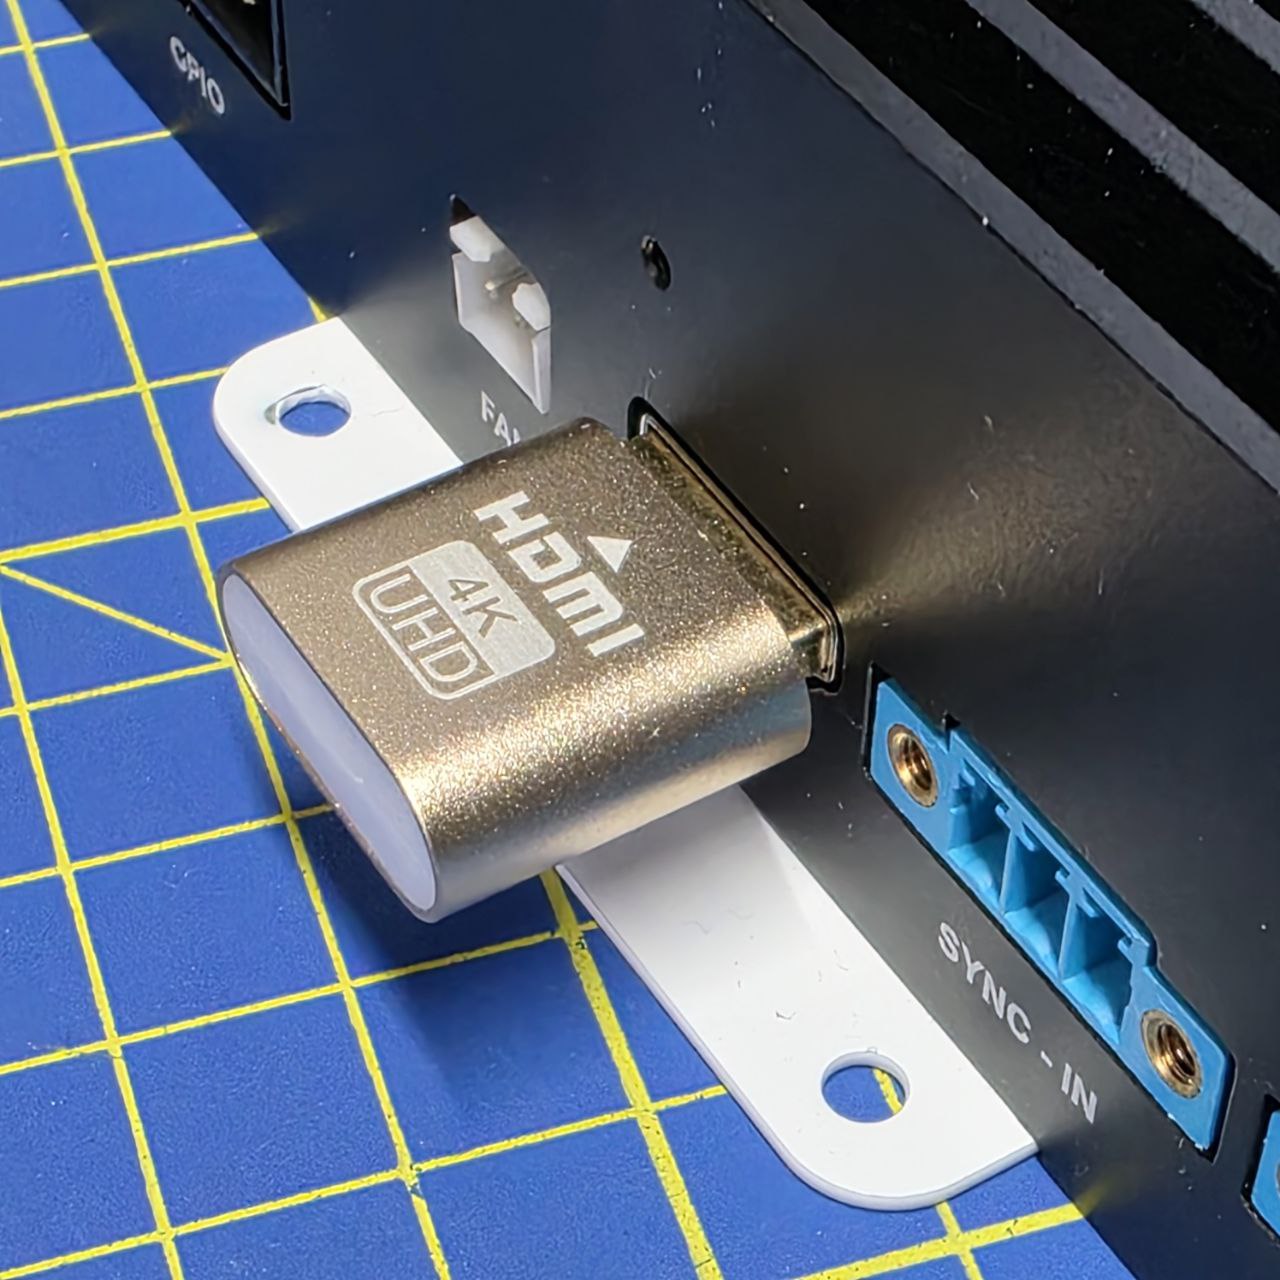
04. Connect a display or a Dummy HDMI plug
Display
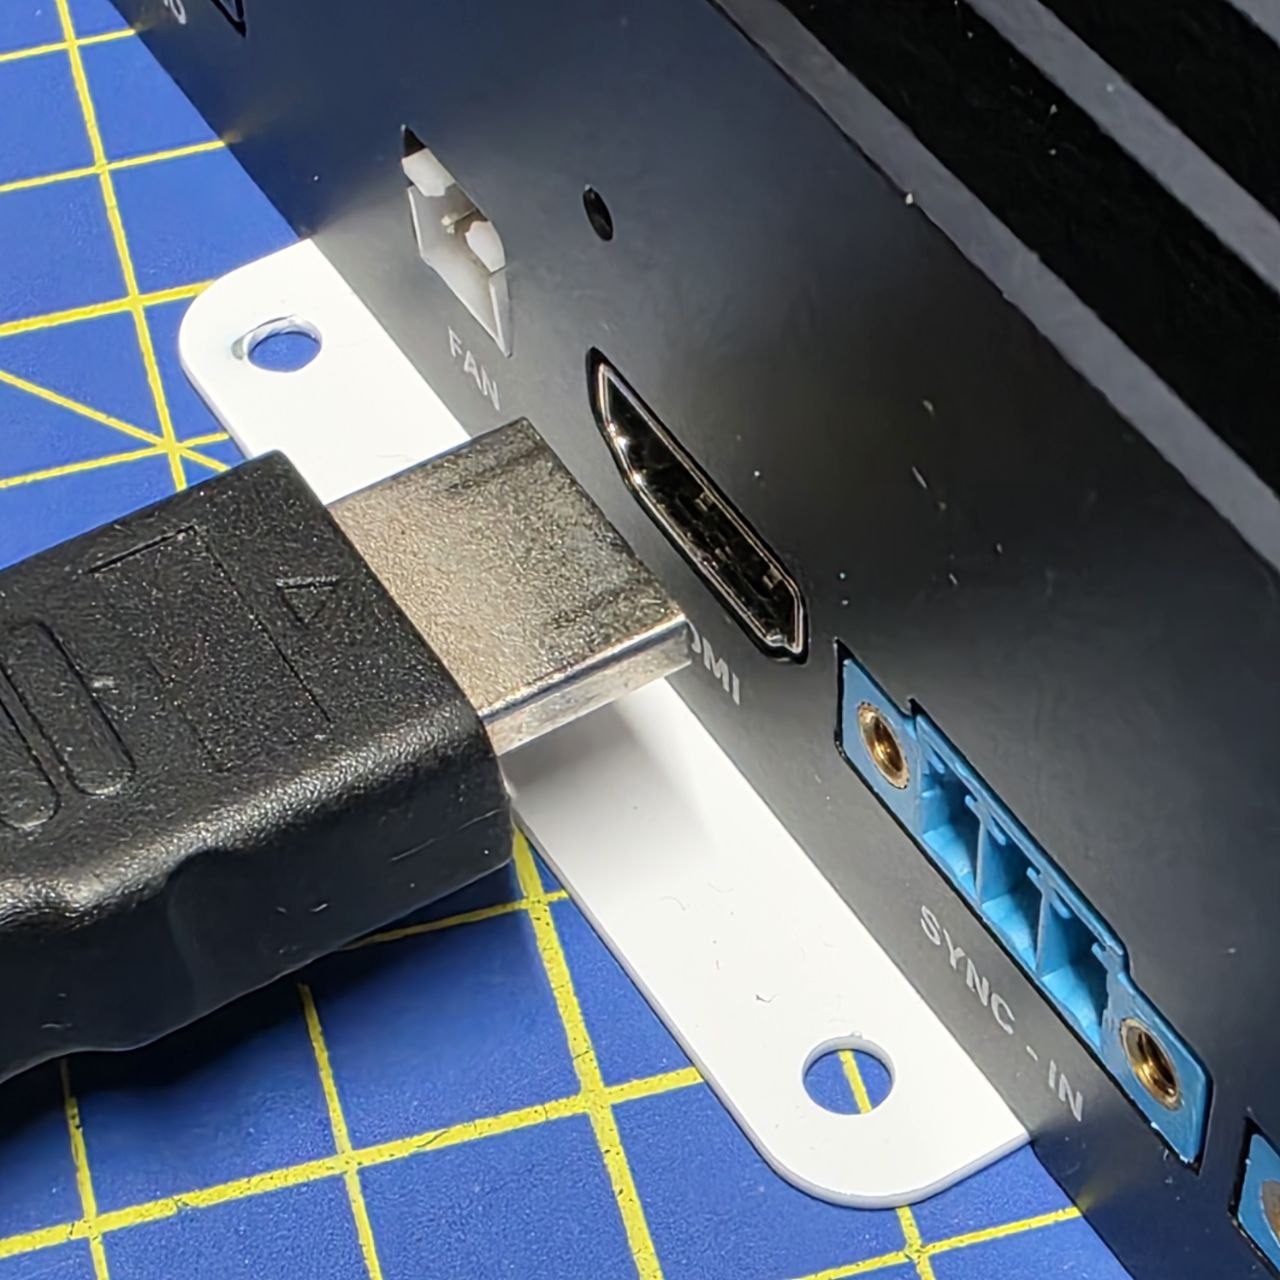
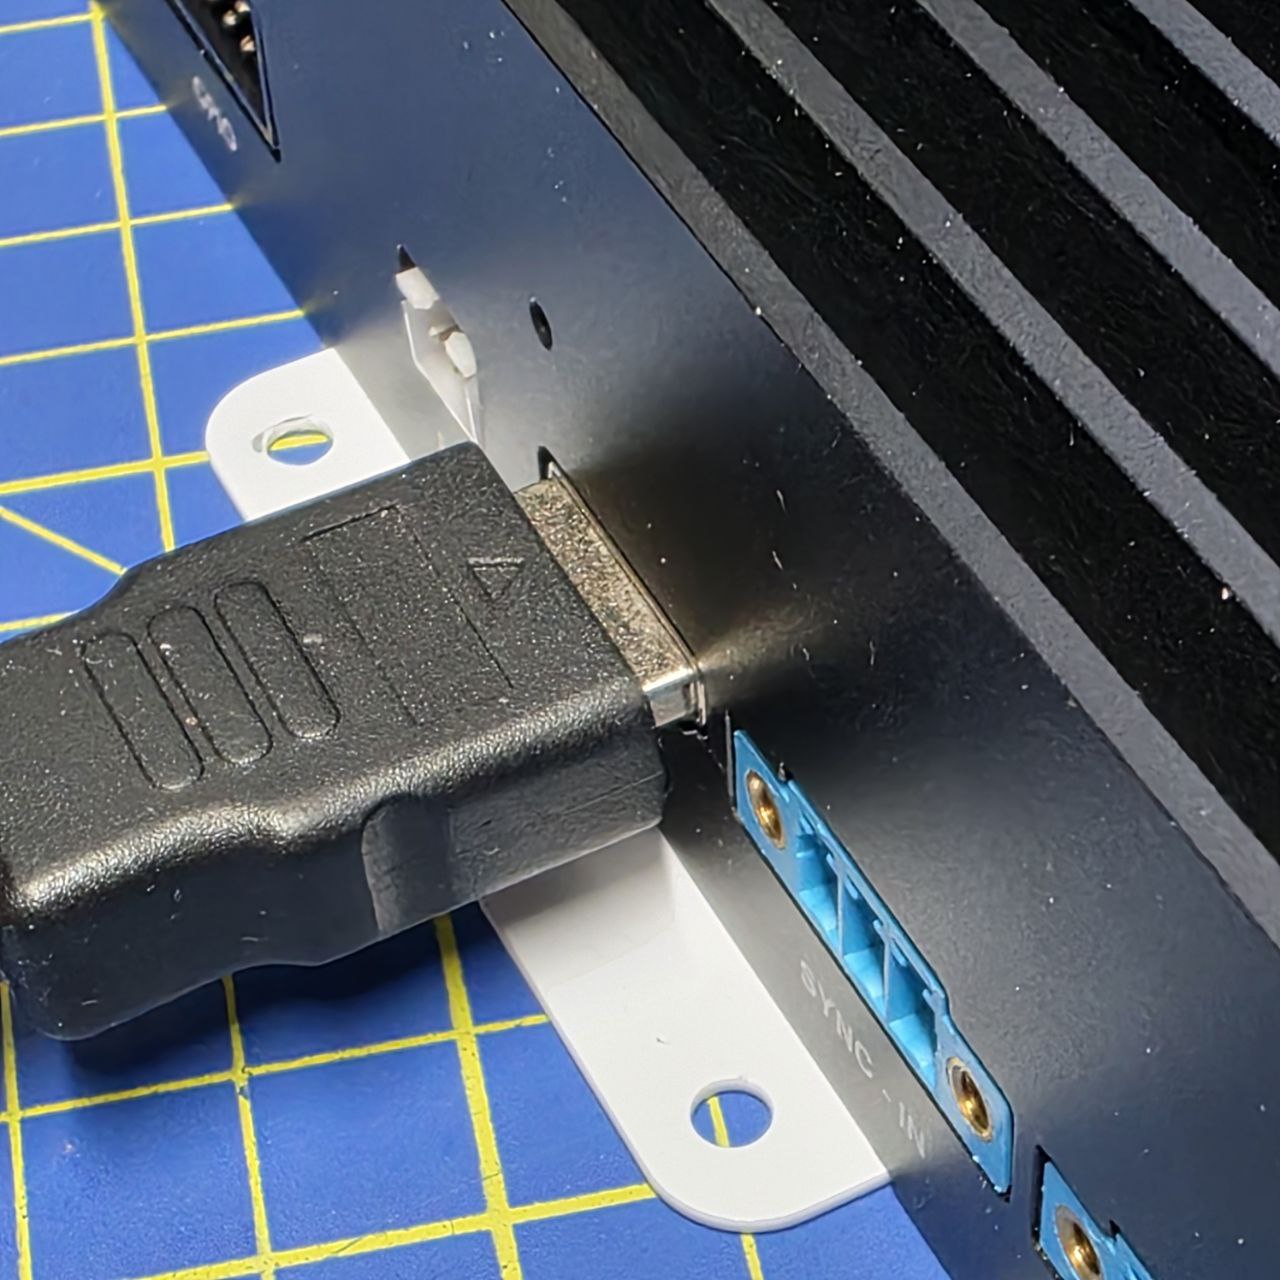
The ZED Box Mini features an HDMI 1.4 to 2.1 type-A compliant connector, depending on the chosen Jetson™ for the system, to display video with a maximum resolution of 3840×2160 @60Hz.
Dummy HDMI plug
You can use the ZED Box Mini without a display in headless mode, controlling it remotely by using ssh or virtual desktop applications. To enable X11 forwarding and run applications requiring OpenGL in headless mode, it is required to use a Dummy HDMI plug to simulate a connected display. Learn more here.
05. Connect a keyboard and a mouse
You need a USB 3 hub to connect a mouse and a keyboard to the USB 3 Type A port.
06. Complete the operating system setup
System access credentials
To access the operating system upon first start-up, use the following default access credentials:
- Username: user
- Password: admin
For security reasons we suggest you change the default password after the first boot.
How to change the user password
Using a terminal console command
- Open a terminal console (
Ctrl+Alt+t) - Enter the
passwdcommand - Follow the indications
Using the Settings GUI menu
You can access the Settings menu in multiple ways:
From the Activities Menu
- Click on “Activities” in the top-left corner.
- Type “Settings” in the search bar.
- Click on the Settings app (gear icon).
From the System Tray
- Click on the top-right system menu (Wi-Fi, battery, and volume icons).
- Select “Settings” from the dropdown.
From the Terminal
-
Open a terminal (Ctrl + Alt + T).
-
Type the following command and press Enter:
Change the Default Password
- In the Settings menu, navigate to Users.
- Select your user account.
- Click “Password” and enter a new secure password.
- Save the changes and restart if necessary.
Perform a system update
Open a terminal console (Ctrl+Alt+t) and enter the following commands to update the device:
07. Install the most recent ZED software
Upgrade the ZED SDK
Visit the Download section of the StereoLabs website and verify that the ZED Box Mini is running the latest version of the ZED SDK to leverage the latest improvements developed by our team.
You can retrieve the version of the ZED SDK installed on the ZED Box by opening a terminal console (Ctrl+Alt+t) and entering the command:
Upgrade the ZED X Driver
Visit the Driver Download section of the StereoLabs website and verify that the ZED Box Mini is running the latest version of the Driver to leverage the latest improvements developed by our team.
You can verify the version of the ZED X Driver installed on the ZED Box by opening a terminal console (Ctrl+Alt+t) and entering the command:
You should get a similar output:
08. [Optional] Add a new user
Open a new terminal console [Ctrl+Alt+t].
You can add a new user with the command:
Set the password for the new user:
Log out of the current user account, then log in with the newly created one.
Open a new terminal console [Ctrl+Alt+t] and add the new user to the required user groups:
Reboot the device and log in with the new credentials to ensure everything is working properly.
Enjoy your device
Enjoy your ZED Box Mini.
Do not hesitate to visit our community forum or contact our support team at support@stereolabs.com if you need support.